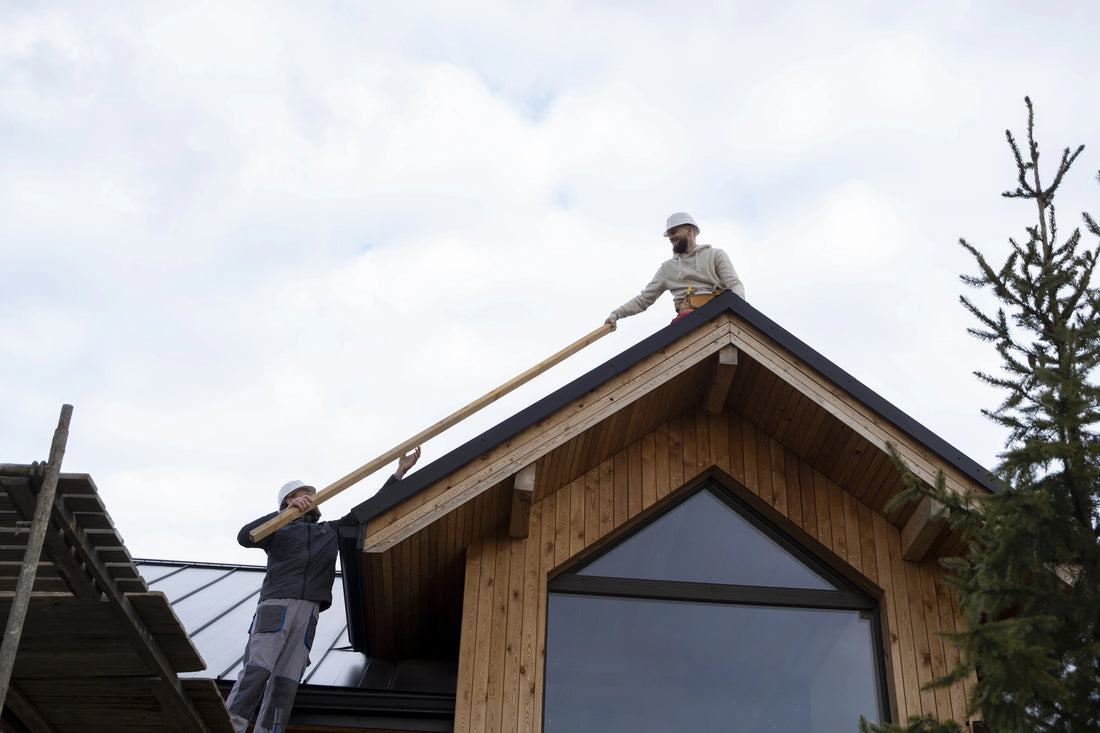
An unexpected leak, material mismatch, or repairs, these are the kind of issues that make a US homeowner think about the roof pitch. Knowing how to calculate roof pitch before these problems arise prevents costly mistakes and lets you control every roofing project decision with confidence.
Whether you’re planning repairs, replacements, or just ordering materials, this guide walks you through every method of roof pitch calculation in simple and practical terms.
Roof Pitch 101: What is it and Why does it Matter?
Roof pitch is the measurement of a roof’s slope or steepness, specifically the vertical elevation of a roof for a given horizontal distance. Numerically, it’s expressed as a ratio of rise over a 12-inch horizontal run. For example, in a 6:12 roof, the higher the former number, the steeper the roof.
It isn’t just about design; it directly affects how water drains, which materials to choose, how snow load is managed, and how your attic space looks. Wrong roof pitch calculations can lead to incompatible materials or violations of local building codes.
What's Considered a Standard Roof Pitch?
Across the US, the most “conventional” range for residential roofs is 4:12 to 9:12, with 6:12 being the most common. This range is typically considered steep enough for proper water drainage and accessible for most roofing contractors.
Pitches below 4:12 are low-slope roofs, almost flat surfaces that need special waterproofing solutions. And anything above 9:12 requires additional safety measures as it is classified as a steep-slope roof.
The Importance of Understanding Your Roof Pitch
Different roofing materials have minimum pitch requirements and different specifications. Here’s a quick look at the different standards for different materials:
| Roofing Material | Typical Minimum Pitch |
|---|---|
| Metal Roofing | 1:12 or greater. Varies by panel type and manufacturer specifications. |
| Asphalt Shingles | 2:12 or greater. Roofs with a 2:12–4:12 pitch typically require special underlayment. |
| Slate Roofing | 4:12 or greater |
| Clay & Concrete Tiles | 4:12 or greater |
| Wood Shingles & Shakes | 4:12 or greater |
Using the wrong material for your roof pitch can have grave consequences, such as a voided warranty and a failed installation.
Beyond materials, pitch affects drainage efficiency, snow shedding in colder states, attic ventilation, energy performance, and even a home's resale value.
Minimum slope requirements for specific roofing materials and assemblies are already established by local building codes, making roof pitch a crucial factor in code compliance.
How to Calculate Roof Pitch: The Method and Formula
Only two measurements are required to calculate your roof pitch:
- Rise (Vertical Height)
- Run (Horizontal Distance)
Both of these measurements can be taken from the roof surface, from inside the attic, or from a rafter, whichever seems safest and most accessible.
The 3 basic tools you require:
- A Tape Measure
- A Level (At Least 12 Inches Long)
- A Pencil
If you’re planning to measure from the attic, remember to keep a flashlight with you. Most importantly, always prioritize safety, using a sturdy ladder, guardrails, or a harness if needed for steep surfaces.
How to Calculate Roof Pitch in a Ratio
This is the standard method used across the US roofing industry.
- Step 1: Place a level flat against the roof surface or a rafter and make sure it's perfectly horizontal.
- Step 2: Measure 12 inches along the level and mark that point.
- Step 3: From the 12-inch mark, measure straight down to the roof surface or rafter. This is the rise measurement.
- Step 4: Write the rise as a ratio over 12. For instance, let’s say the rise is 6 inches; then the roof pitch is 6:12.
You can also use total roof dimensions: Divide the roof's total rise (from the top of the exterior wall to the ridge) by its total run (half the building width). The result gives you the same ratio.
How to Calculate Roof Pitch in Degrees
You may see the calculation expressed in degrees rather than ratios in material specifications, architectural drawings, and international references. Converting is pretty straightforward.
- Step 1: Measure the roof's rise and run using the method above.
- Step 2: Divide the rise by the run. For example, if the rise is 4 inches and the run is 12 inches, divide 4 ÷ 12 = 0.333.
- Step 3: Enter that number into a scientific calculator and press the arctan (tan⁻¹) function. In this example, arctan(0.333) = 18.43°.
Formula: Roof Angle (°) = arctan (Rise ÷ Run)
If your calculator returns radians, multiply by (180/π) to convert to degrees.
To skip the formula entirely, you can type "arctan(0.3333)" directly into Google or a calculator app. A 6:12 pitch equals 26.57° and a 4:12 pitch is 18.43°. These conversions are useful when working with solar panel installations or international contractors.
Curious how roofing professionals measure a roof and whether roof pitch should be included? Join the discussion on Reddit: How do you measure a roof? Do you have to consider the pitch?
Roof Pitch Conversion Chart: 1:12 to 20:12
Use this reference table when ordering materials, checking code requirements, or converting between pitch formats. Slope% is calculated as (rise/run) × 100.
| Pitch (X:12) | Angle (Degrees) | Slope % | Category |
|---|---|---|---|
| 1:12 | 4.76° | 8.3% | Low |
| 2:12 | 9.46° | 16.7% | Low |
| 3:12 | 14.04° | 25% | Low |
| 4:12 | 18.43° | 33.3% | Conventional |
| 5:12 | 22.62° | 41.7% | Conventional |
| 6:12 | 26.57° | 50% | Conventional |
| 7:12 | 30.26° | 58.3% | Conventional |
| 8:12 | 33.69° | 66.7% | Conventional |
| 9:12 | 36.87° | 75% | Steep |
| 10:12 | 39.81° | 83.3% | Steep |
| 11:12 | 42.51° | 91.7% | Steep |
| 12:12 | 45.00° | 100% | Steep |
| 14:12 | 49.40° | 116.7% | Very Steep |
| 16:12 | 53.13° | 133.3% | Very Steep |
| 18:12 | 56.31° | 150% | Very Steep |
| 20:12 | 59.04° | 166.7% | Very Steep |
Low-slope roofs (1:12 to 3:12) require specialized membranes or modified bitumen. Conventional roofs (4:12 to 9:12) are compatible with most standard US materials. Steep roofs (above 9:12) need extra fastening, safety measures, and specialty panels as necessary.
How to Calculate Roof Pitch With Apps and Digital Tools
Knowing how to calculate pitch manually is useful, but mobile apps and digital tools save time significantly, especially for quick inspections or when your attic is inaccessible.
- Physical tools: Speed squares and pitch gauges are standard among US roofing contractors. The gauge is set against a rafter or roof surface to get the pitch readings directly without math.
- Mobile apps: Apps like Pitch Gauge, Protractor, and Simple Inclinometer use your phone's built-in sensors to return a pitch reading in seconds.
Pro Tip:
App-based pitch measurements can be affected by phone positioning, calibration, uneven cases, and raised camera bumps. For critical projects, verify the reading with a manual measurement.
- Remote digital tools: Some platforms use aerial imagery to view the roof in 3D, and then the software executes the measurement. This is particularly useful for large commercial jobs or contractors with multiple projects.
Roof Pitch and Area Calculations: Getting the Numbers Right
A flat, top-down roof diagram looks simple. Adding the roof pitch significantly increases the actual surface area. This is where material estimation errors occur.
A 2D blueprint only represents the roof’s footprint as seen from above, without accounting for the extra surface added by the slope. The steeper the roof, the more materials you need. For example, a steep 10:12 roof covers considerably more surface area than a 4:12 roof with the same footprint, requiring more shingles, underlayment, and flashing.
To calculate the real roof area, multiply the footprint area by the pitch multiplier for that slope.
Here are a few common multipliers:
- 4:12 = 1.054
- 6:12 = 1.118
- 8:12 = 1.202
- 12:12 = 1.414
For example, a 1,500 sq. ft. roof footprint with a 6:12 pitch has approximately 1,677 sq. ft. of actual roofing surface.
Homes with multiple roof sections, such as dormers, hips, valleys, and intersecting gables, may have different pitches across different areas. Measure each section separately and add the results together for the most accurate estimate.
Pro Tips for Accurate Roof Pitch Measurement
- Double-check measurements; small errors can affect pitch accuracy.
- Measure from the attic for safer, cleaner readings.
- Use a 24-inch level to minimize measurement errors.
- Verify the pitch meets local code and material requirements.
- Hire a professional if measurements seem uncertain or unclear.
Final Thoughts: Measure Once, Plan Better
Knowing how to calculate roof pitch isn’t a skill just for your contractors or solar installation experts; it’s practical knowledge for fully understanding your investment.
Whether you measure by hand with a level and tape measure, enter numbers into the arctangent formula, or use a pitch app for a quick result, the main process is the same: find the rise, find the run, and calculate the relationship accurately.
For simple roofs, a single measurement takes approximately five minutes. You need more time to measure every section for complex multi-plane roofs. The initial effort prevents material mismatches and code violations that are far more costly to fix after installation.
Accurate pitch data is the foundation of every successful roofing project.