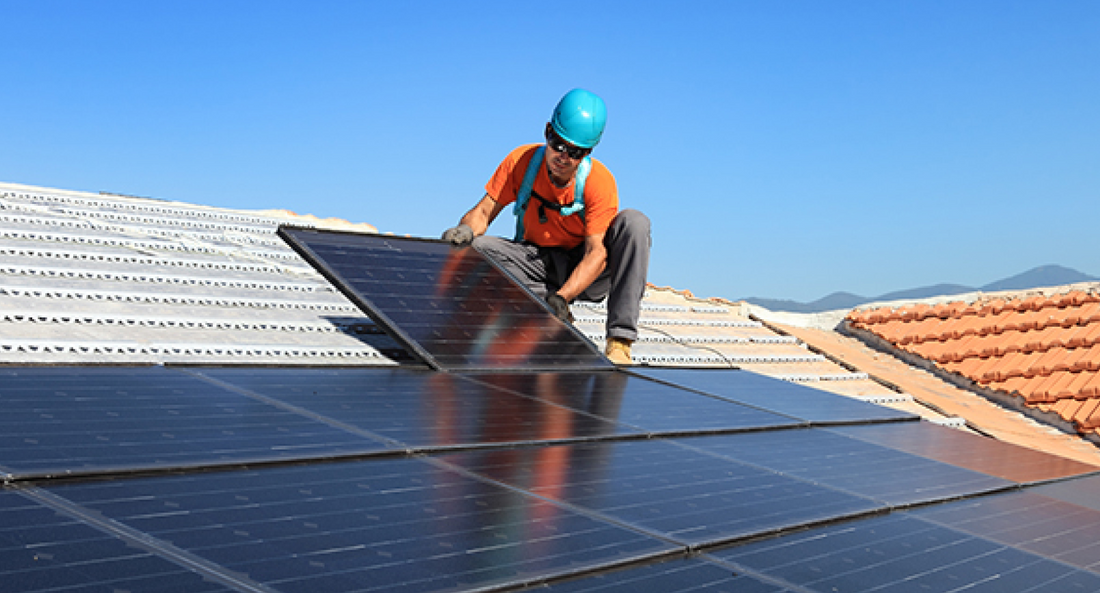
Solar energy is becoming one of the biggest drivers of growth in the new energy sector. According to SEIA, solar accounted for 54% of all new electricity-generating capacity added to the U.S. grid in 2025, demonstrating the rapid adoption of clean energy by homeowners and businesses.
As more U.S. homeowners adopt solar, understanding the installation process becomes increasingly important. As Reuters quoted Michelle Davis, Head of Solar at Wood Mackenzie, "It's clear that solar will continue to be the dominant source of new power capacity in the U.S." The appeal is easy to understand: a minimized carbon footprint and long-term savings.
But what actually happens between deciding to go solar and completing the installation?;
Understanding the Process of Installing Solar Panels
The solar panel installation process often sounds more disruptive than it actually is. Most homeowners imagine weeks of construction, but most of the work is done off the roof. Planning, engineering, permits, inspections, and utility coordination typically take longer than the physical installation itself.;
With your home’s energy usage and goals, roof structure, and local building requirements in mind, professional installers ensure the system operates safely, efficiently, and reliably for decades.
From initial planning to final utility approval, each stage plays a role in moving the installation forward.
With the groundwork in place, the next step is understanding exactly how everything comes together.
Step-By-Step Solar Panel Installation Process
Solar installation is a structured process where each stage serves a specific purpose. From evaluating your home to final approvals, every step helps ensure the system is installed safely and efficiently.
Step 1: Roof Inspection and Site Assessment (Week 1–2)
Is your home ready for solar? Installers evaluate roof condition, available roof space, and the condition of your electrical panel. Some companies also use satellite imagery and virtual assessments before an in-person assessment.
Pro Tip:
If your roof is too old and almost at the end of its lifespan, consider repairing it before adding solar panels to avoid reinstallation costs.
Step 2: Solar Panel System Design (Week 2–4)
With your home’s energy usage, roof dimensions, sunlight exposure, and local code requirements in mind, installers create a custom panel layout after the initial assessment. The objective is to optimize energy production without compromising safety or appearance.
Pro Tip:
Keep your recent electricity bills ready. Historical electricity usage helps determine the adequate solar panel layout size.
Step 3: Choose the Right Solar Mounting System (Week 3–5)
The mounting system acts as the foundation of your solar setup. The right choice depends on roof type, climate conditions, and structural requirements. Sloped roofs often use railed systems, while flat roofs may use ballast-supported systems.
Different mounting systems are built for different installation needs. If you're comparing options for residential projects, check out RoofTech's solar mounting solutions to explore a range of mounting equipment.
Pro Tip:
In regions with heavy rain, snow, or high winds, choose mounting systems designed for your local weather conditions.
Step 4: Secure Roof Attachments (Week 4–6)
Attachment points are directly secured into the structural areas of the roof. To maintain roof integrity and prevent moisture buildup or leakage, installers apply waterproofing sealants and flashing around penetrations.
Step 5: Install Rail or Rail-Less Mounts (Week 6–8)
Rails or rail-less mounting components are installed to hold the solar panels securely and keep them perfectly aligned. These components help keep panels aligned, secure, and properly spaced for airflow and maintenance access.
Step 6: Mount the Solar Panels (Week 8)
Finally, the solar panels are carefully attached to the mounting structure, leaving enough space between them to increase airflow and accommodate thermal expansion.
Step 7: Electrical Wiring and Inverter Setup (Week 8–10)
A team of electricians connects the solar panels to the designated wiring, routes energy to the inverter, and converts DC power into usable AC electricity for your home. Furthermore, grid connections and battery storage are also integrated at this stage.
Pro Tip:
Remember to ensure electrical grounding and protection measures are in place to ensure safety and code compliance.
Step 8: Inspection and Utility Approval (Week 10–12+)
Before the solar panel system is put into operation, it must be reviewed by local inspectors and utility providers. After passing all inspections and obtaining all necessary permissions, your system can finally go live.
Pro Tip:
Utility approvals often take longer than installation itself, so don't be surprised if the final step requires a little patience.
These were the 8 steps you must follow while setting up your solar energy system. Now let’s explore the common mistakes to avoid when installing solar panels on your home.
Avoid These Costly Solar System Installation Mistakes
A well-planned solar panel installation process can deliver decades of reliable energy savings. But unforeseen issues during planning or installation can affect performance, increase future costs, and create avoidable hassles. Here are some common mistakes U.S. homeowners should watch for:
- Underestimating or overestimating energy usage: Installing a system that is too small may leave you reliant on the grid, while an oversized system can lead to unnecessary installation costs. Use your electricity usage history to size the system correctly.
- Skipping a proper roof assessment: A solar panel system’s performance heavily depends on your roof’s age, structural condition, sunlight exposure, angle, and more.
- Ignoring future energy needs: Your future energy needs might exceed your currently planned solar energy output. Carefully consider whether you’re going to change anything in your home, such as adding an EV charger, a home office, battery storage, or new appliances.
- Focusing only on panel quality: Solar panels are important, but inverters, mounting systems, roof attachments, and installation quality are equally critical. System performance depends on proper integration between panels, wiring, mounting hardware, and installation quality.;
- Overlooking permits and local requirements: If it is not addressed from the start, permit delays and compliance issues can stall projects and create unnecessary complications.
- Choosing inexperienced installation teams: Even premium equipment can underperform if panels are poorly aligned, improperly wired, or incorrectly secured.
- Ignoring maintenance and warranty details: Understanding and reviewing warranty coverage, along with regular inspections and maintenance, can help sustain system performance over the long run.
Getting the details right while installing solar panels can make the difference between a system that simply works and one that performs efficiently for decades.
Why Mounting Systems Play a Critical Role in Solar Installations
Solar panels may generate the electricity, but the mounting system is what keeps the entire setup safe, secure, and long-lasting. It helps optimize energy production and helps keep panels secure in different weather conditions across the U.S.
Why Mounting Systems Matter:
- Helps position/angle panels for maximum sunlight exposure and better output
- Secures panels against wind, snow, and other weather conditions
- Distributes system weight evenly to protect roofs and structures
- Uses durable materials that resist corrosion, water seepage, and long-term wear
- Supports faster installation and compatibility with different roof types
The right mounting system plays a direct role in performance, durability, and long-term system performance.
Final Thoughts: Installing a Solar Energy System That Lasts
While the solar panel installation process may take a few weeks or months, the long-term rewards are worth it;
- Energy Independence
- Reliable Clean Energy Use
One key takeaway from the installation journey is that overall system efficiency depends on more than just the solar panels themselves. Mounting systems, roof attachments, waterproofing, structural stability, and installation quality all contribute to a solar panel system's performance over time. A perfect solar energy setup serves two goals: protecting your roof and optimizing your energy investment.
Careful planning and proper installation can help improve long-term system reliability and energy output.